Alaska in Winter: Northern Lights, Whales & Wildlife

I’m a beginner photographer with a passion for long-exposure night photography. In March 2017, we traveled to Fairbanks, Alaska to chase the northern lights — the Aurora Borealis — and I wanted to share what I learned along the way.
Planning Ahead
Getting a decent photograph of the northern lights takes more preparation than you might expect. Plan at least a month in advance, and even then, nature has the final say. For the best chance at clear, dramatic images, aim for all of the following:
- Clear sky forecast
- New moon
- At least three nights (ideally more)
- Aurora forecast of KP 3 or higher
Getting Away from the City
Even with every box checked, the aurora can be hard to spot from inside Fairbanks. City lights wash it out. You need to get away from them entirely. Murphy Dome, a short drive outside the city, is one of the best viewing spots around — but come prepared for brutal cold and relentless wind.
I wore three layers of thermal gear, a face mask, wool socks, hiking boots, and ski gloves, and I still felt the chill bite through. Tuck hand warmers into your pockets and bring hot tea or coffee in a thermos — you’ll be out there for three to four hours, and your body burns through calories fast in freezing temperatures.
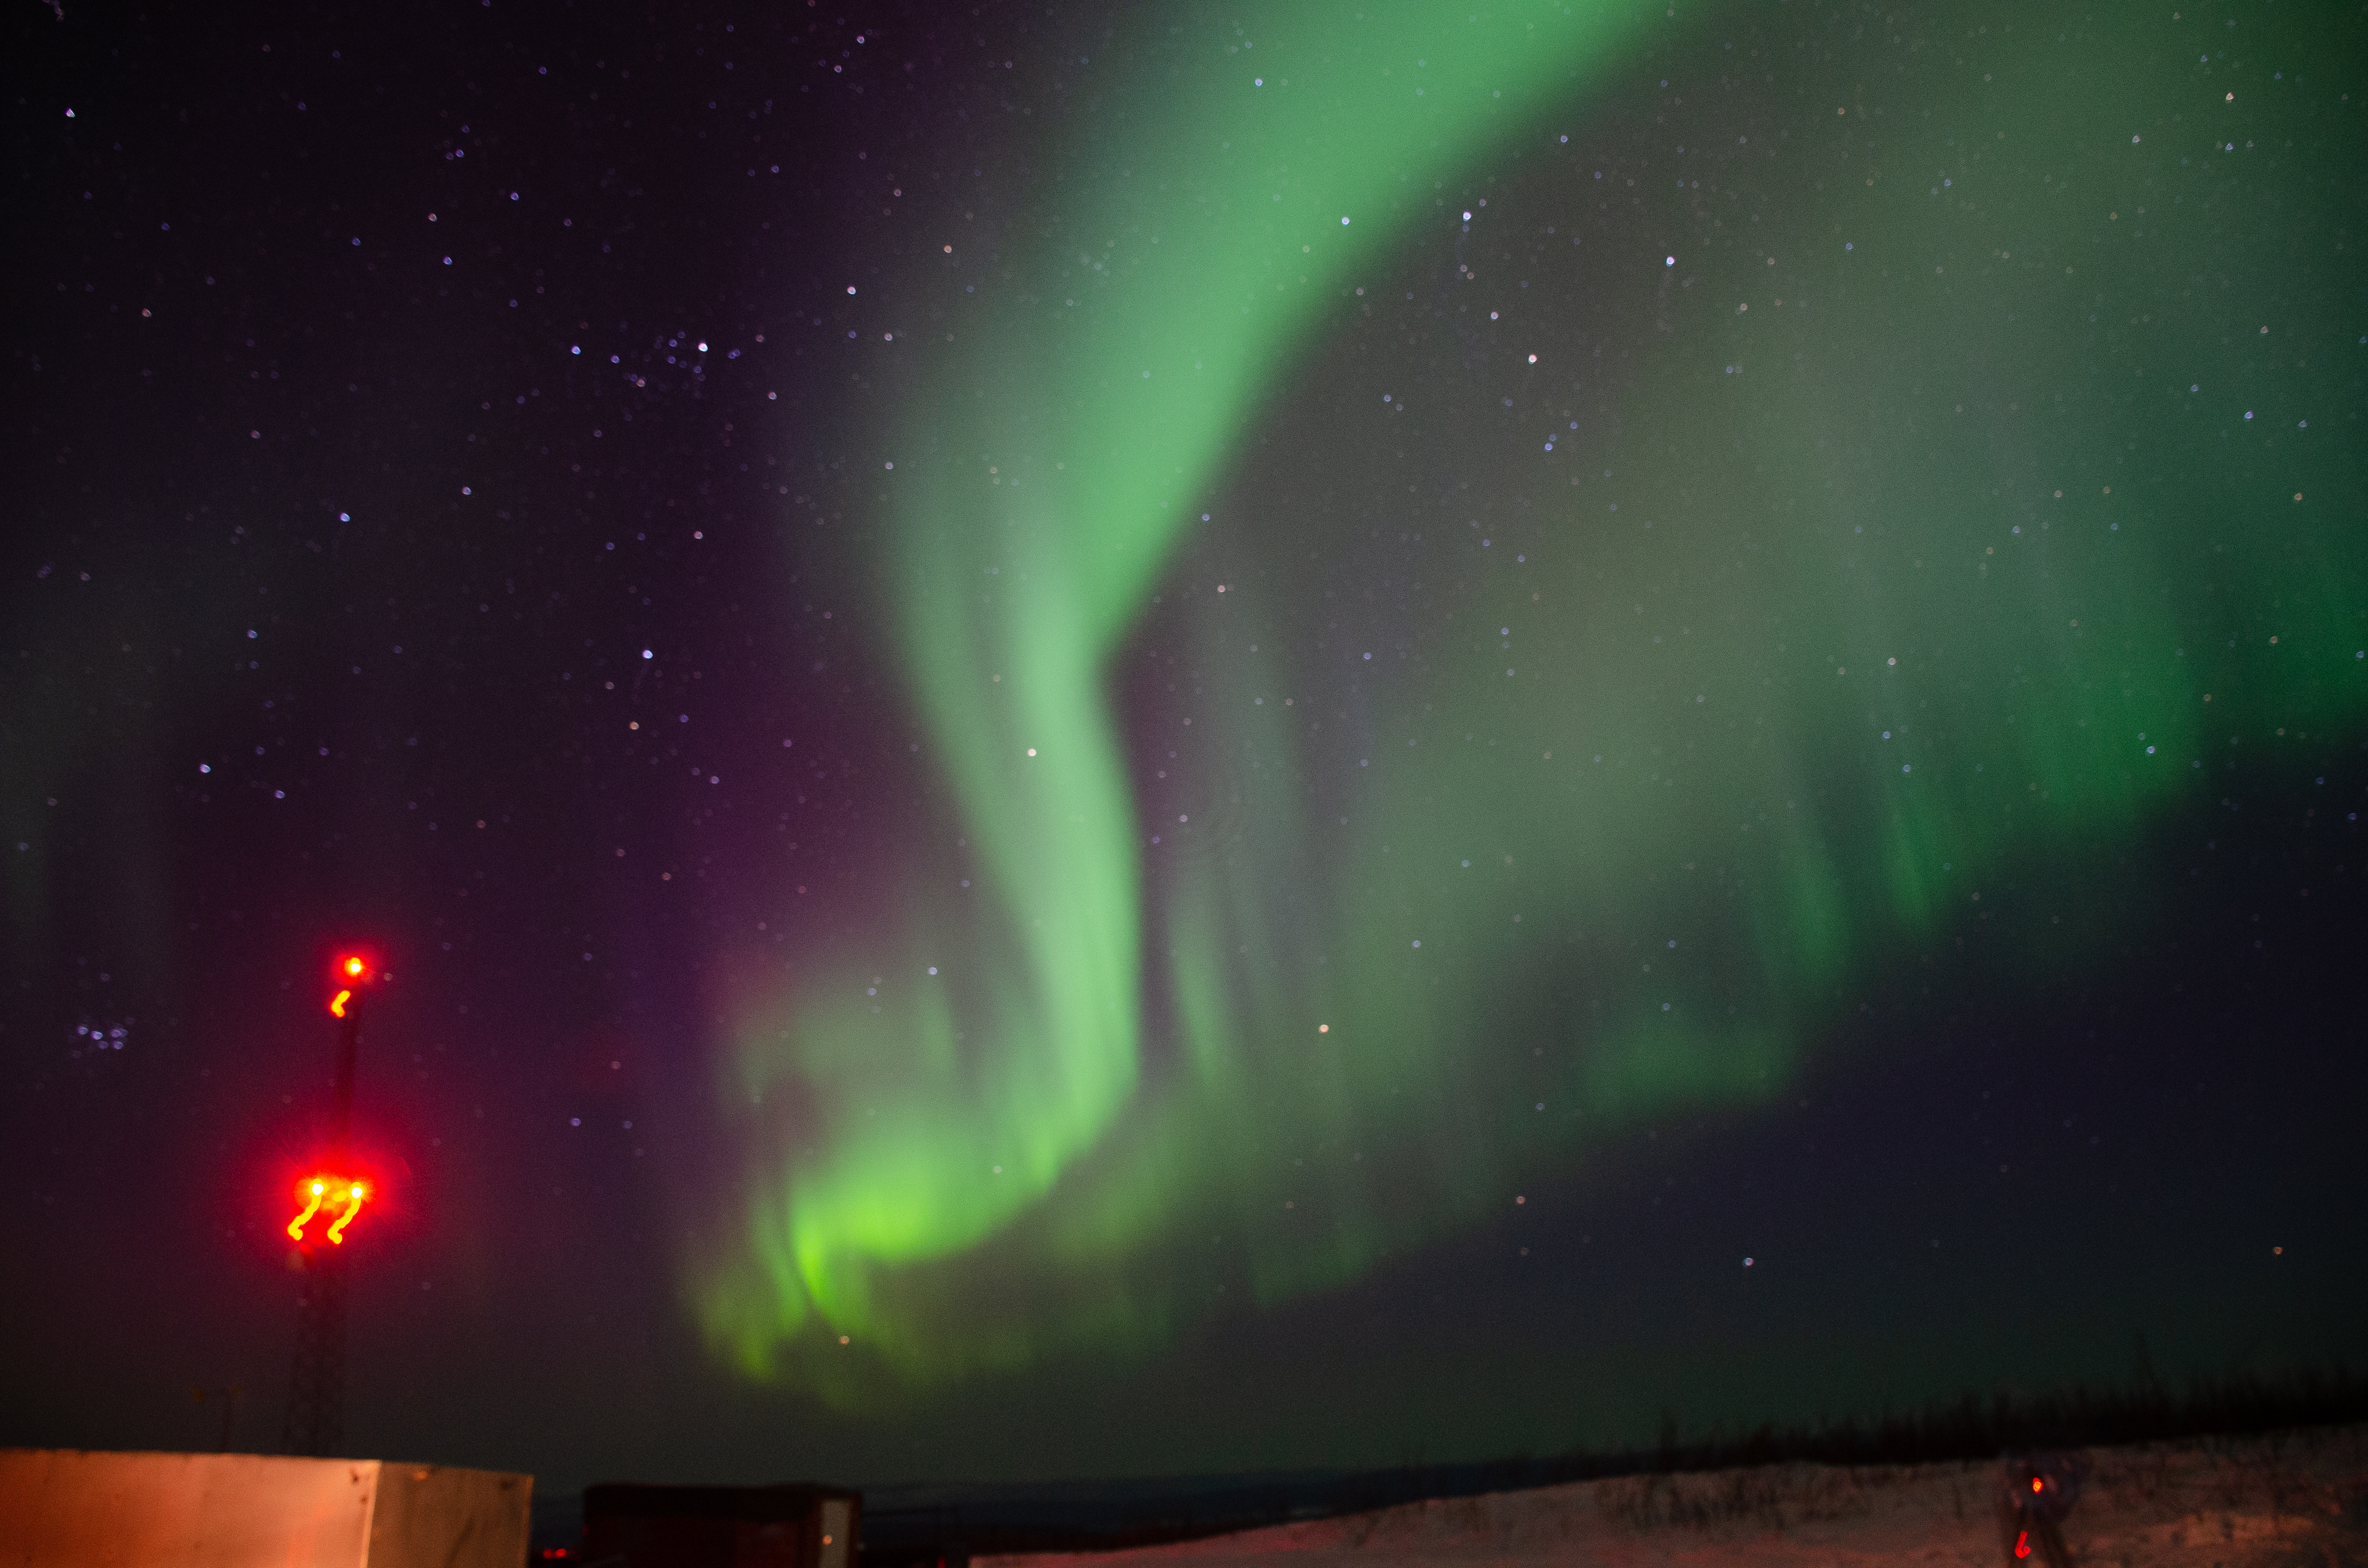
The aurora typically first appears as a faint white band stretched quietly across the sky. Here’s the remarkable part: point your camera at that pale smear and take a shot — it comes up vivid green on your display. On a good night you can see that green with the naked eye, and if you’re lucky, you’ll watch the lights dance across the entire sky in sweeping ribbons of white, green, and red. We got that lucky.
Equipment
- A DSLR camera
- Wide-angle lens (30mm or less) with a low aperture (f/3.5 or lower)
- Sturdy tripod
If it’s windy, hang a weight from the tripod’s centre column to keep it stable. A wireless or wired shutter release helps eliminate camera shake — but if you don’t have one, the built-in two-second timer does the job just as well.
Camera Settings
Set your camera to shoot in RAW format so you have full flexibility to edit later. Then experiment with your settings:
- Start at 15 seconds exposure, ISO 600, and your lowest aperture
- Increase exposure by 5-second increments if the image is too dark
- Increase ISO by 200 increments if needed
- Stay below ISO 1000 — beyond that, noise takes over the image
Focusing is the trickiest part of the whole process. Autofocus fails in near-darkness almost every time. Set your focus to infinity manually while there’s still daylight — I learned this the hard way, wasting precious shooting time fumbling with focus dials at -20°C in ski gloves.
I’ll skip the post-processing section — I don’t have the expertise, and I prefer the images straight out of the camera anyway. More high-quality images and full EXIF data are on my Flickr.
More from Alaska
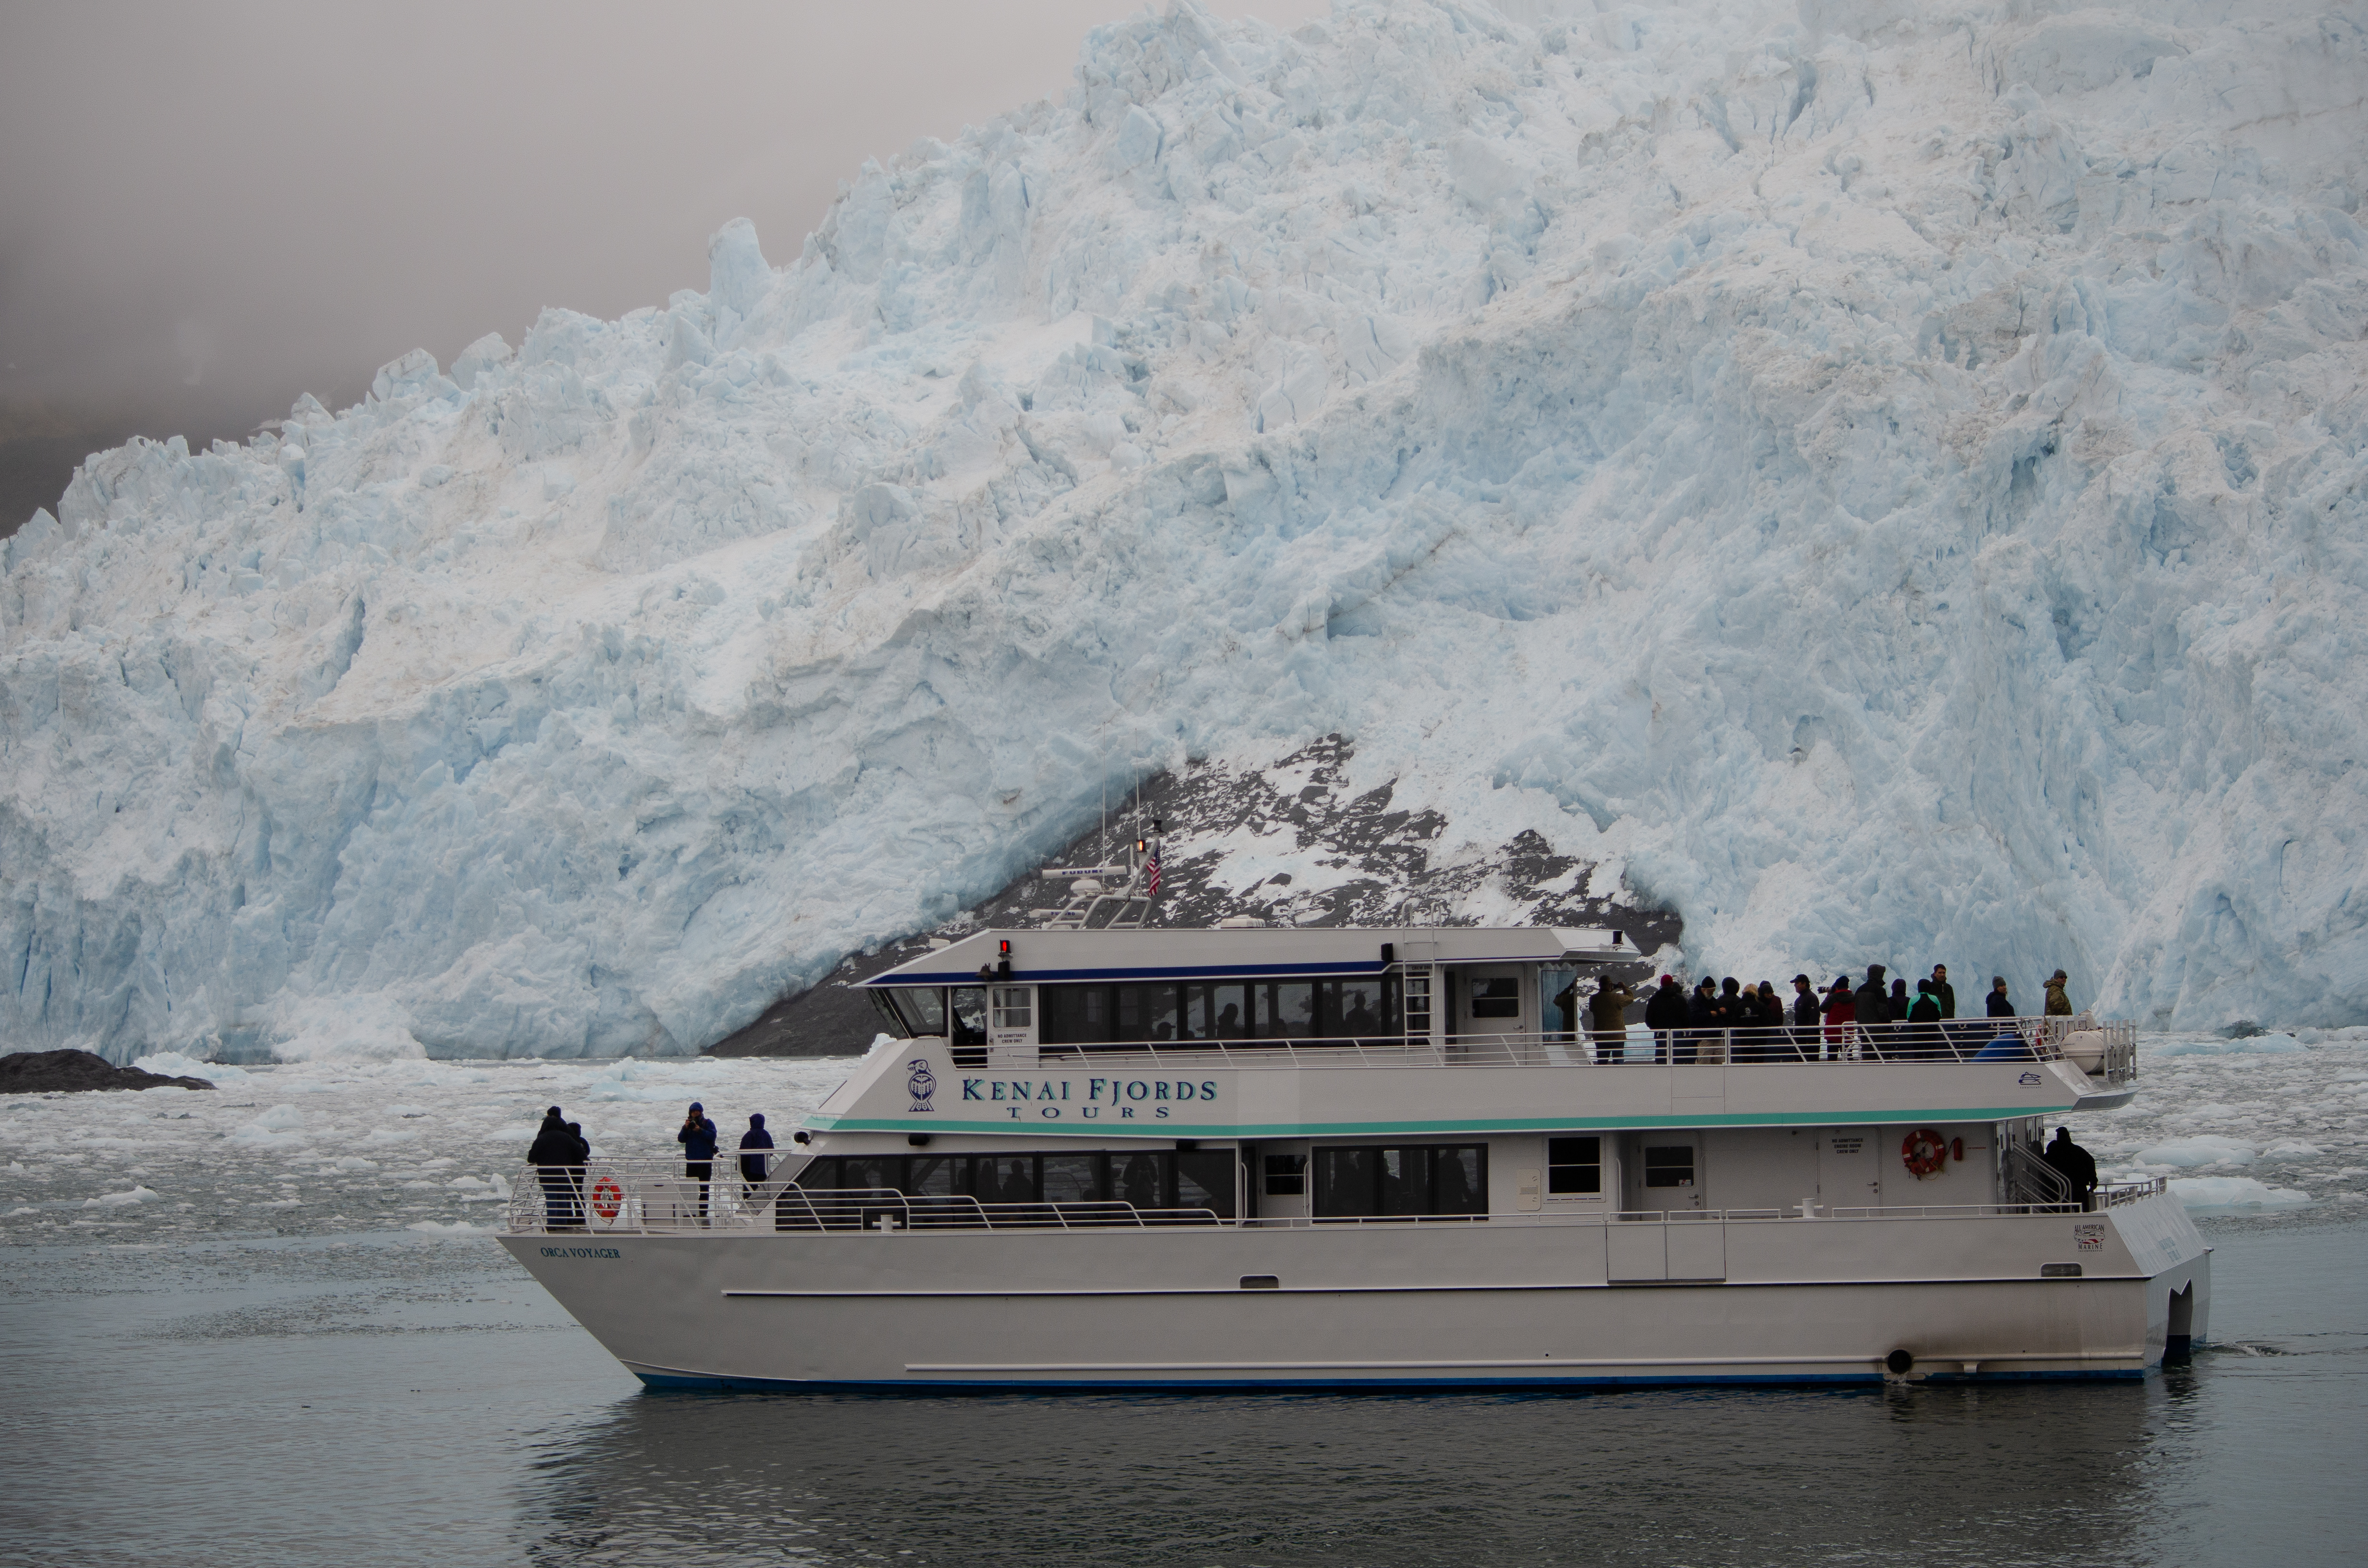
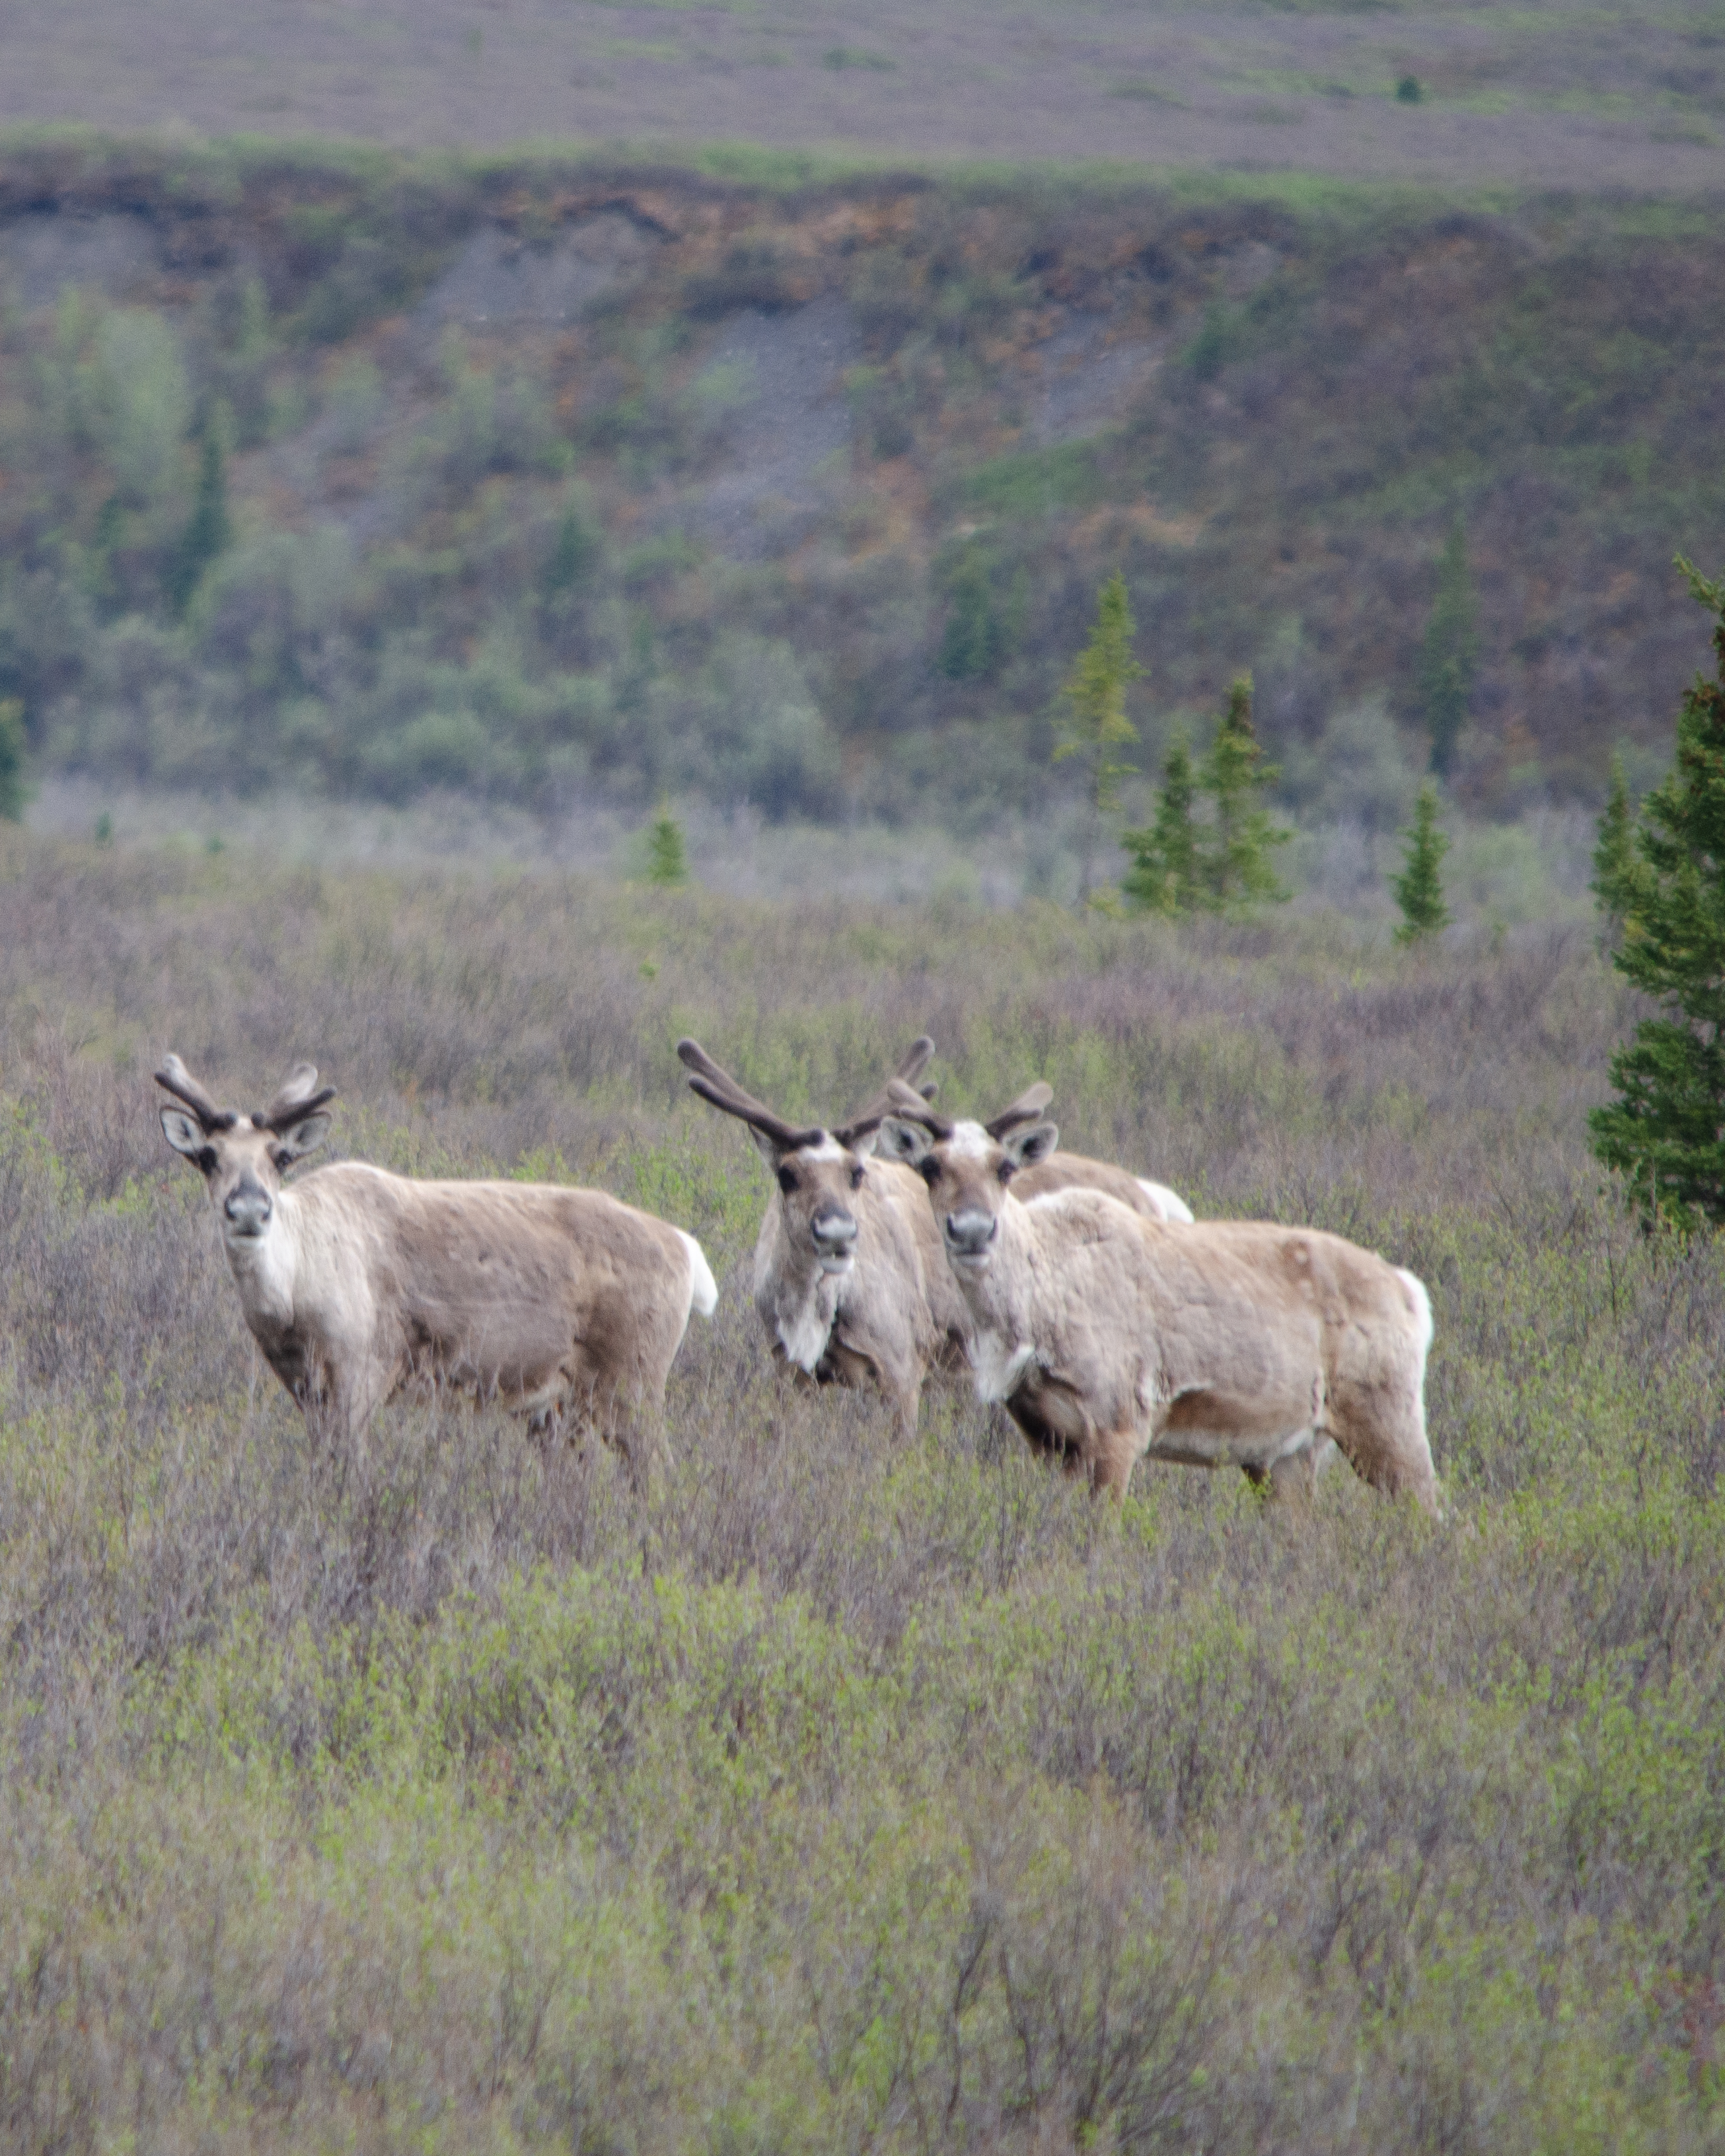
The northern lights were the headline, but Alaska had no shortage of other moments worth stopping for.